Intro
In this blog post I would like to share my experience in modding an old FM radio in order to be able to listen to pilots of airplanes, air traffic control and airports.
I am person, who is incredibly fascinated by technology, but what always has been a deep love of mine is aviation. Of course, if you want to listen to Air Traffic control communication there is a fantastic website available called LiveATC to stream ATC comms live. It will be in a better quality than a modded FM radio, that’s for sure.
But for me there it is a very special satisfaction to do it the old-school way. And more educational as well.
Before I begin, I would like to make clear that I am not responsible for possibly illegal actions (since not in every country it is legal to listen to the airband frequencies or modding FM radios).
Also, you could damage your FM radio in the process of modding (although it is surprisingly easy to modify it), so please be careful and don’t hold me responsible for your actions. Last but not least, be careful, to not electrocute yourself and use common sense.
With this stuff out of the way, let’s start!
This tutorial is based on this YouTube video, which has been the inspiration for this post. Basically, it described the same steps, which will be outlined bellow.
Airband frequencies
First of all, let’s take a look at the airband frequencies we would like to receive: The airband frequencies are basically located just above the FM spectrum and span from (usually) 108 to 137 MHz.
So what we need to do is just to go slightly beyond the FM range. And this is surprisingly easy to do.
Modding a FM radio to receive airband frequencies
Let’s take this old radio (although it doesn’t necessarily need to be an old device) as an example:
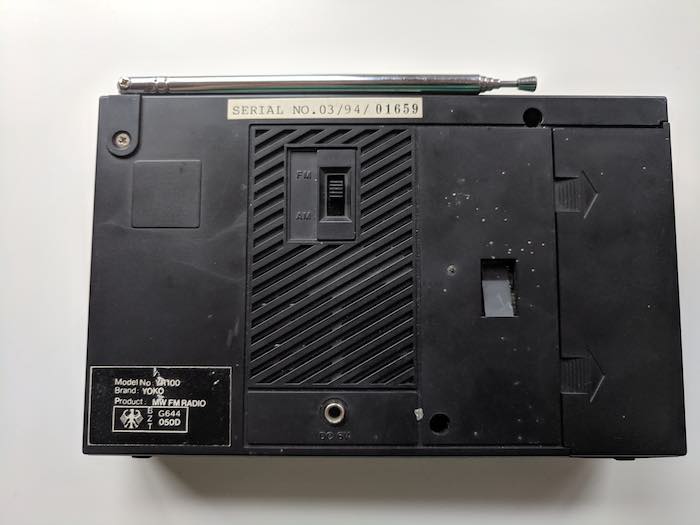
old vintage radio back side
Obviously we will need to take it apart, so let’s do that!
Disassembly
FM slider
Before starting the disassembly make sure to select the FM frequency selector to the middle (approximately). Later, the range ‘above’ the slider will be moved ‘upwards’ (by frequency).
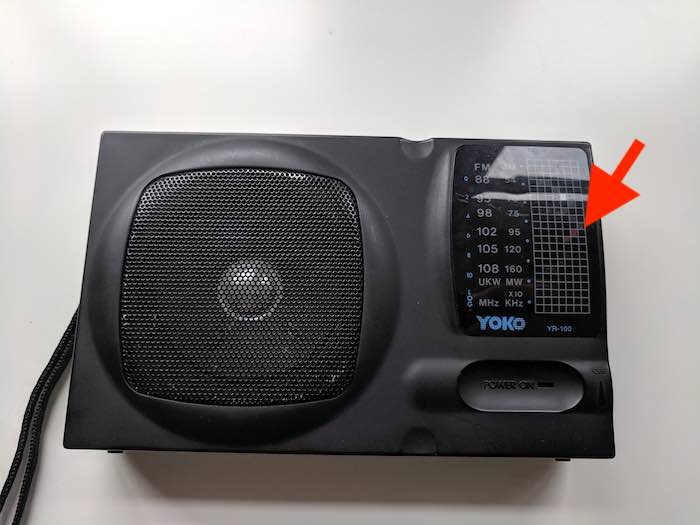
vintage Radio FM frequency selector
Here you can see that I selected approximately the middle of the FM band.
If your radio has a selection knob to select between ‘AM’ and ‘FM’ put in to the ‘FM’ position.
You can remove the batteries for now, but we will need to put them back in later, whilst the FM radio is still disassembled.
Take it apart
Now, carefully take the radio apart. Make sure to not damage anything.
Finding the necessary components
Ok, you’ve disassembled it.
We will need to to find a couple of components.
We will need to find:
- the tuning capacitor
- copper wire coils
- tuning transformers
The tuning capacitor (1) usually resides near the knob that control the frequency, it is a plastic shell (there will be an overview below).
Near the tuning capacitor will be those copper wire coils (2).
The tuning transformers (3) are little square metallic boxes with tuning slots on top for adjustments.
Overview
Here is a little overview of all the components that we will need to find.
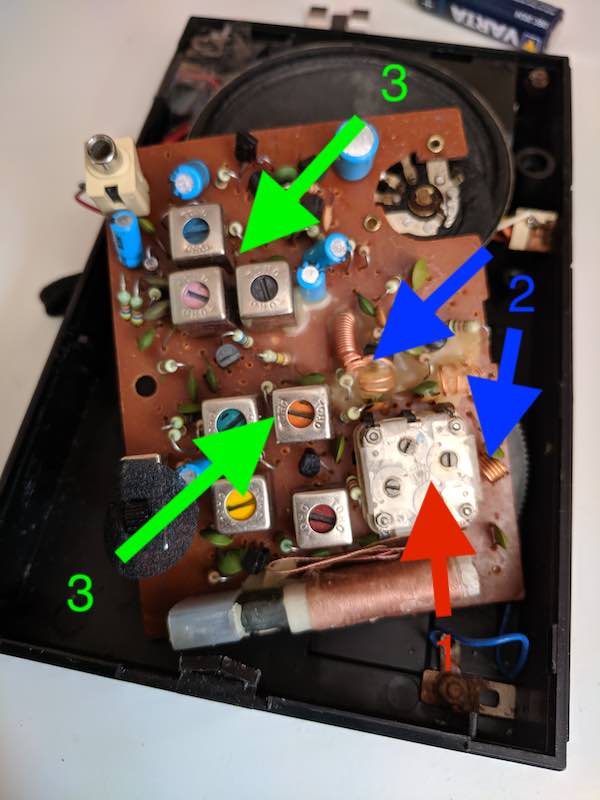
FM radio component overview with markings
Probing
Now that the FM radio is disassembled, we will need to put the batteries back in. But please be very careful.
In disassembled condition, the radio will need to be turned on again (while the FM frequency selector stays somewhere in the middle of the scale).
While it is running, carefully touch the copper wire coils (2) with a metal screwdriver or knife. When you hear a drastic change in sound, you have identified the necessary coil. In my case, however, it were all three coils, you can see on the picture above.
So it can be more than one coil. Please memorise its position, as were are going to modify it in the next step.
Modifying the FM radio to receive airband frequencies
Coper resonator coils
Now we are getting to the actual modification! With the coil or the coils identified, carefully pry the coils apart from each other using a fine screwdriver or a knife.
It helps to tune the radio to a specific radio station (in the middle section of the FM spectrum). As you will pry the copper coils apart from each other, you will notice, you ’lose’ the station, i.e. you don’t receive it anymore.
The reason for that is, because you are ‘moving’ all the frequencies ‘up’. So if you want to receive your previously selected FM station again, you will need to tune slightly down.
It should be mentioned, that you don’t really need to pry apart those copper coils really far. Tiny movements already make a big change.
Here is an example:
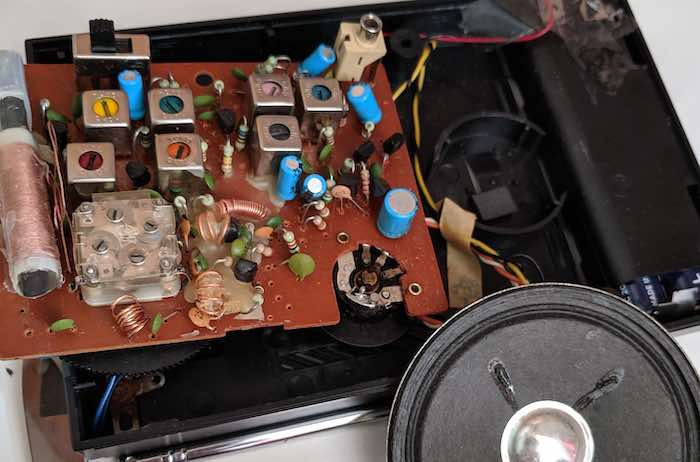
modified FM radio copper resonator coils
Basically, why this happens, has to do with resonance.
Adjusting the tuning transformers
The last thing we will need to do, is to adjust the tuning transformers.
Slightly tune the radio so that you are located ‘between’ stations, and you hear static sound (like a hiss sound).
Now, with a small screwdriver start turning at the top of the tuning transformers (3). Adjust all of the transformers so that the static noise is at its maximum.
This will filter out AM noise, when we tune to a station.
When you are done with all that, you can put your FM radio back together.
Listening to pilots on the airband frequencies
So now, we should be able to receive pilot communication with our modified FM radio.
Please keep in mind, that it is very difficult to select a specific frequency, as the frequency dial now (obviously) shows the wrong frequency, as everything is ‘moved upwards’ on the FM spectrum.
Also, it is quite difficult to listen in a meaningful way to pilots, not only because you cannot precisely set your frequency, but also because you will probably only hear pilots flying above you, and, unless you are located directly next to the airport, you will not hear the answers of the Air Traffic Controllers.
So, with the modified radio, just try to tune upwards, and see whether you can hear something. Also, if you live in an area where there there is not a lot of airline traffic, you will need to search for a long time, until you hear something.
But in my case it worked just fine, and the quality was actually very good, even with the standart antenna.
Anyway, thanks for reading my blog post! If you have any questions, please let me know! You can contact me here.